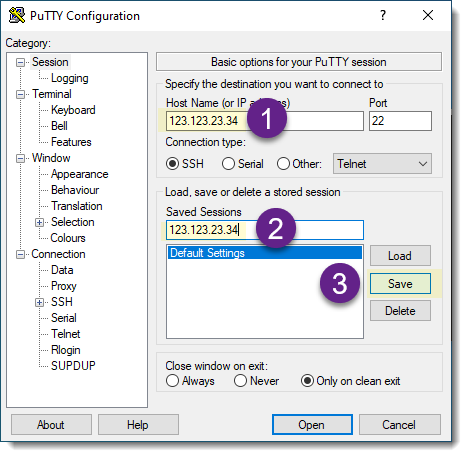
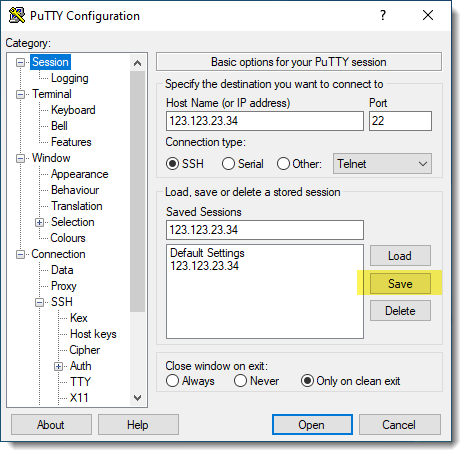
Step 1 – Save SSH session
Saving an SSH session in Putty is not as intuitive as I like it would be, but anyways is totally doable and absolutely recommended to save your time in case you need to use it in the future by using the Load button.
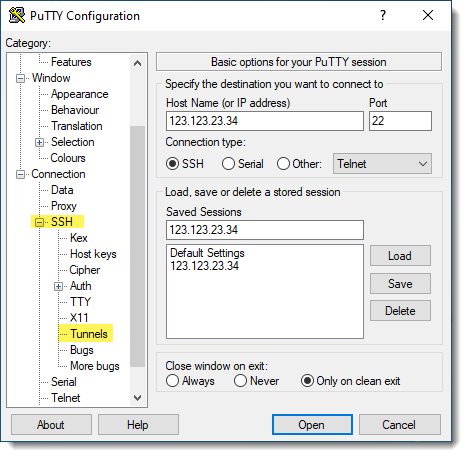
Step 2 – Expand SSH and select Tunnels
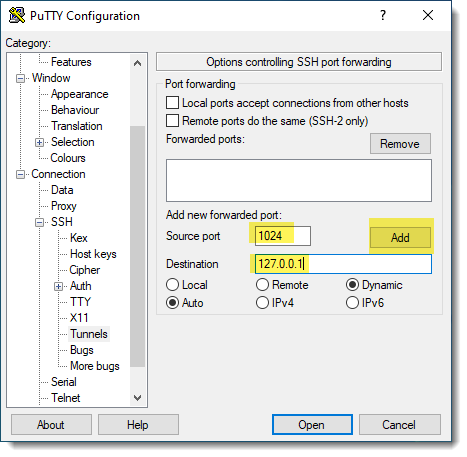
Step 3 – This is an important step, select Dynamic
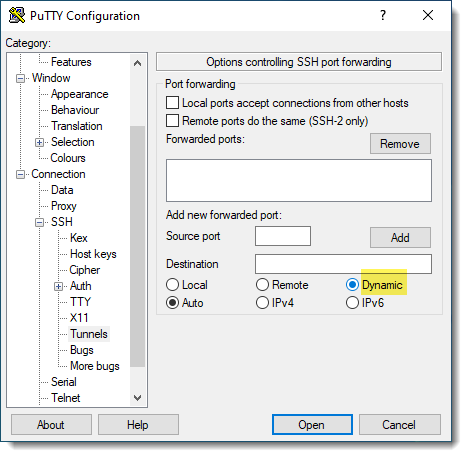
Step 4 – complete Destination IP and Port
Make sure the port you enter here is exactly the same configured on your web browser. See this article for more details.
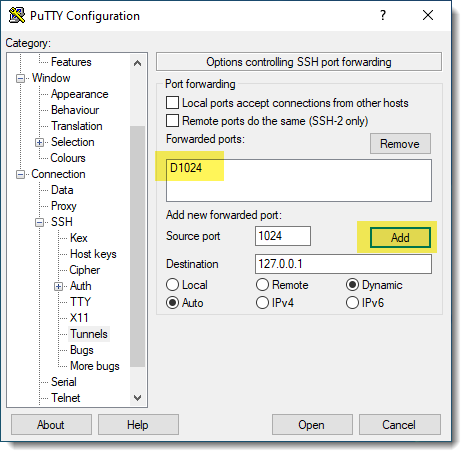
Step 5 – How it looks once added
Step 6 – Go back to Session
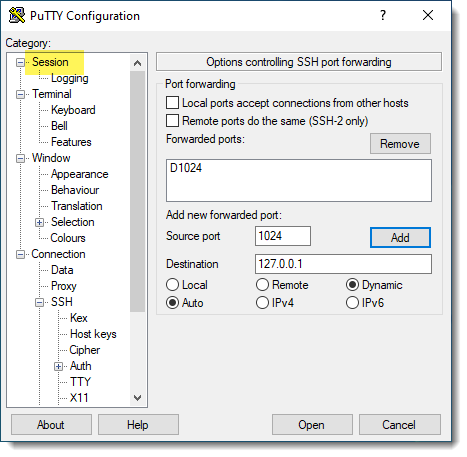
Step 7 – Save Session once again
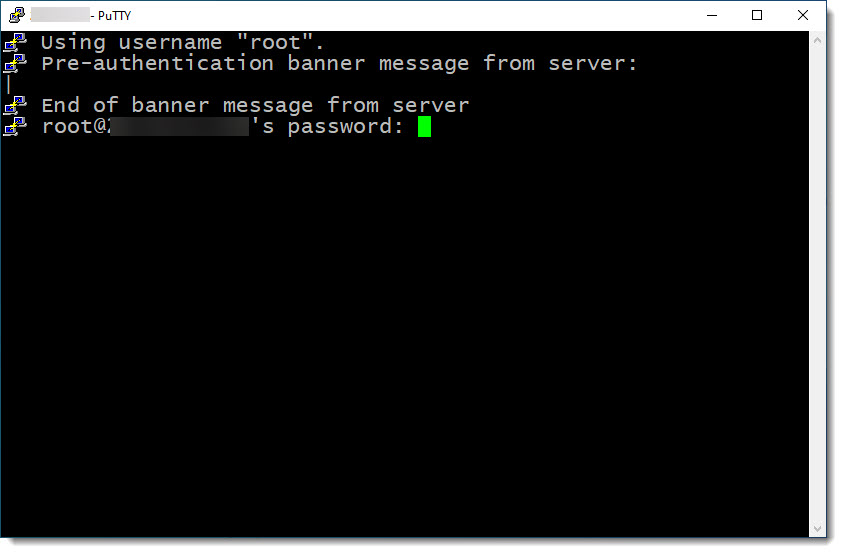
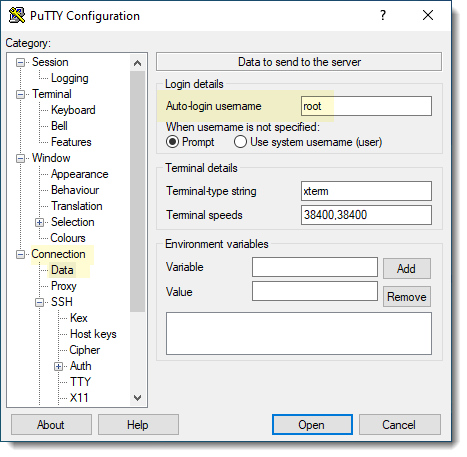
Step 8 – Auto-login username
Save a little bit of your time by setting the Auto-Login username, this way Putty will only ask you for the password.
Step 9 – Open and enter password