Using a SOCKS proxy
There are two cases:
- Your web browser handles SOCKS proxies (for example Mozilla Firefox), then you just have to configure it to use the proxy.
- Your web browser doesn’t handle SOCKS proxies, then you can try installing a Browser extension.
I’m using SwitchyOmega in Brave browser, a nice extension that seems to also work fine in Vivaldi browser.
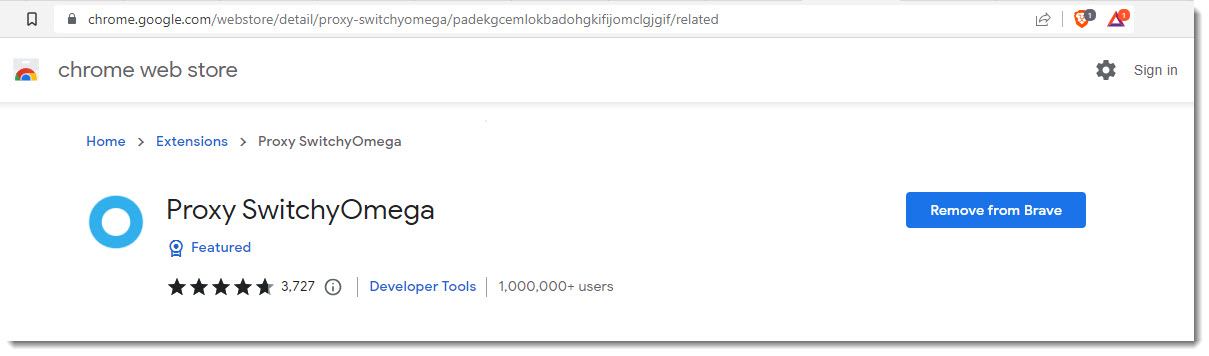
Take a look a the Proxy SwitchyOmega GitHub here to know more about it.
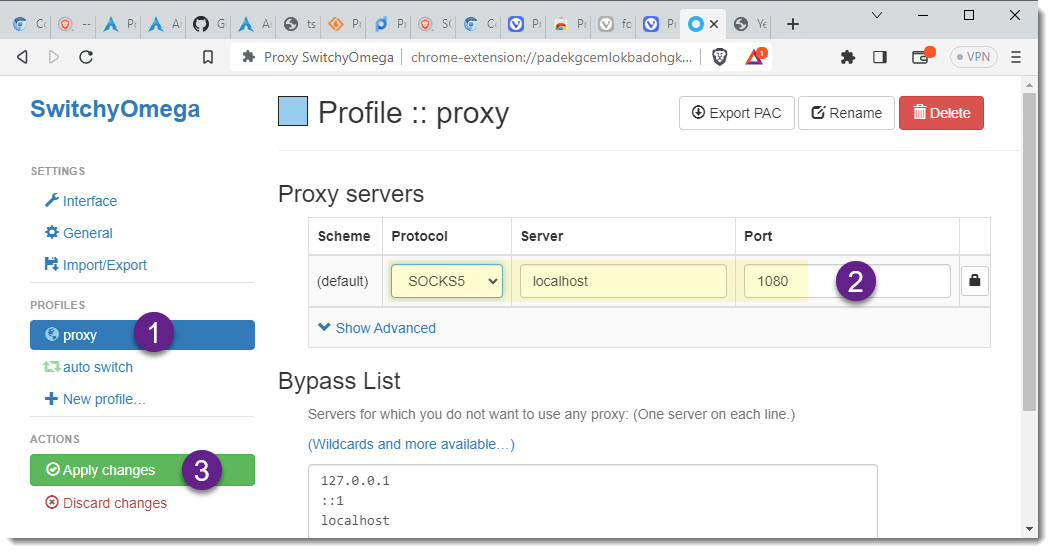
How to configure Proxy SwitchyOmega
Step 1 of 2 – Add new proxy server
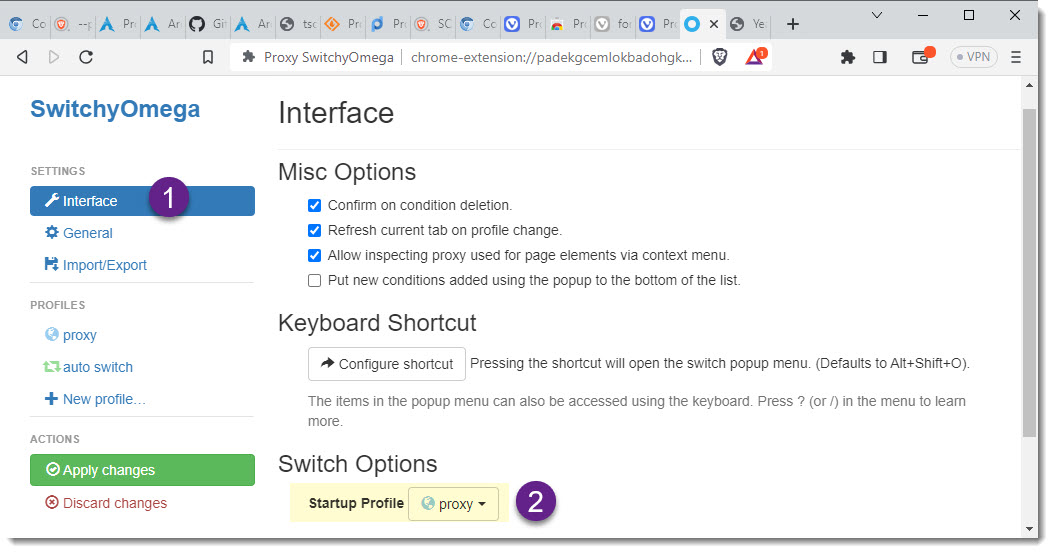
Step 2 of 2 – Select Startup Profile
Open a SSH session that has SOCKS proxy
The following screenshot shows a SSH session configured with SOCKS Proxy using SecureCRT.

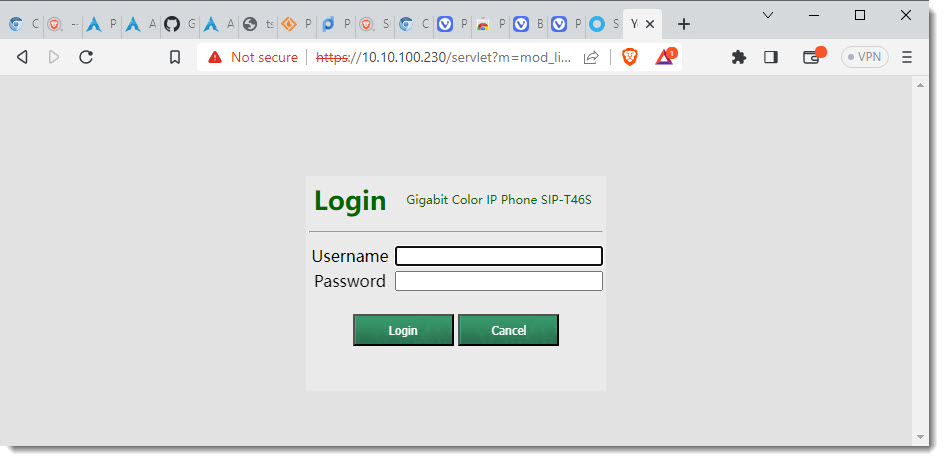
Open device’s GUI with Brave